Setup
Text Forge currently supports Linux and Windows. Just go to Download Page, download the editor for your platform and extract it where you want, there is no dependency!
Note
Text Forge currently doesn't support other platforms because of platform-specific limits. If you want to build editor from source, you can see guide here: Open Text Forge source in Godot
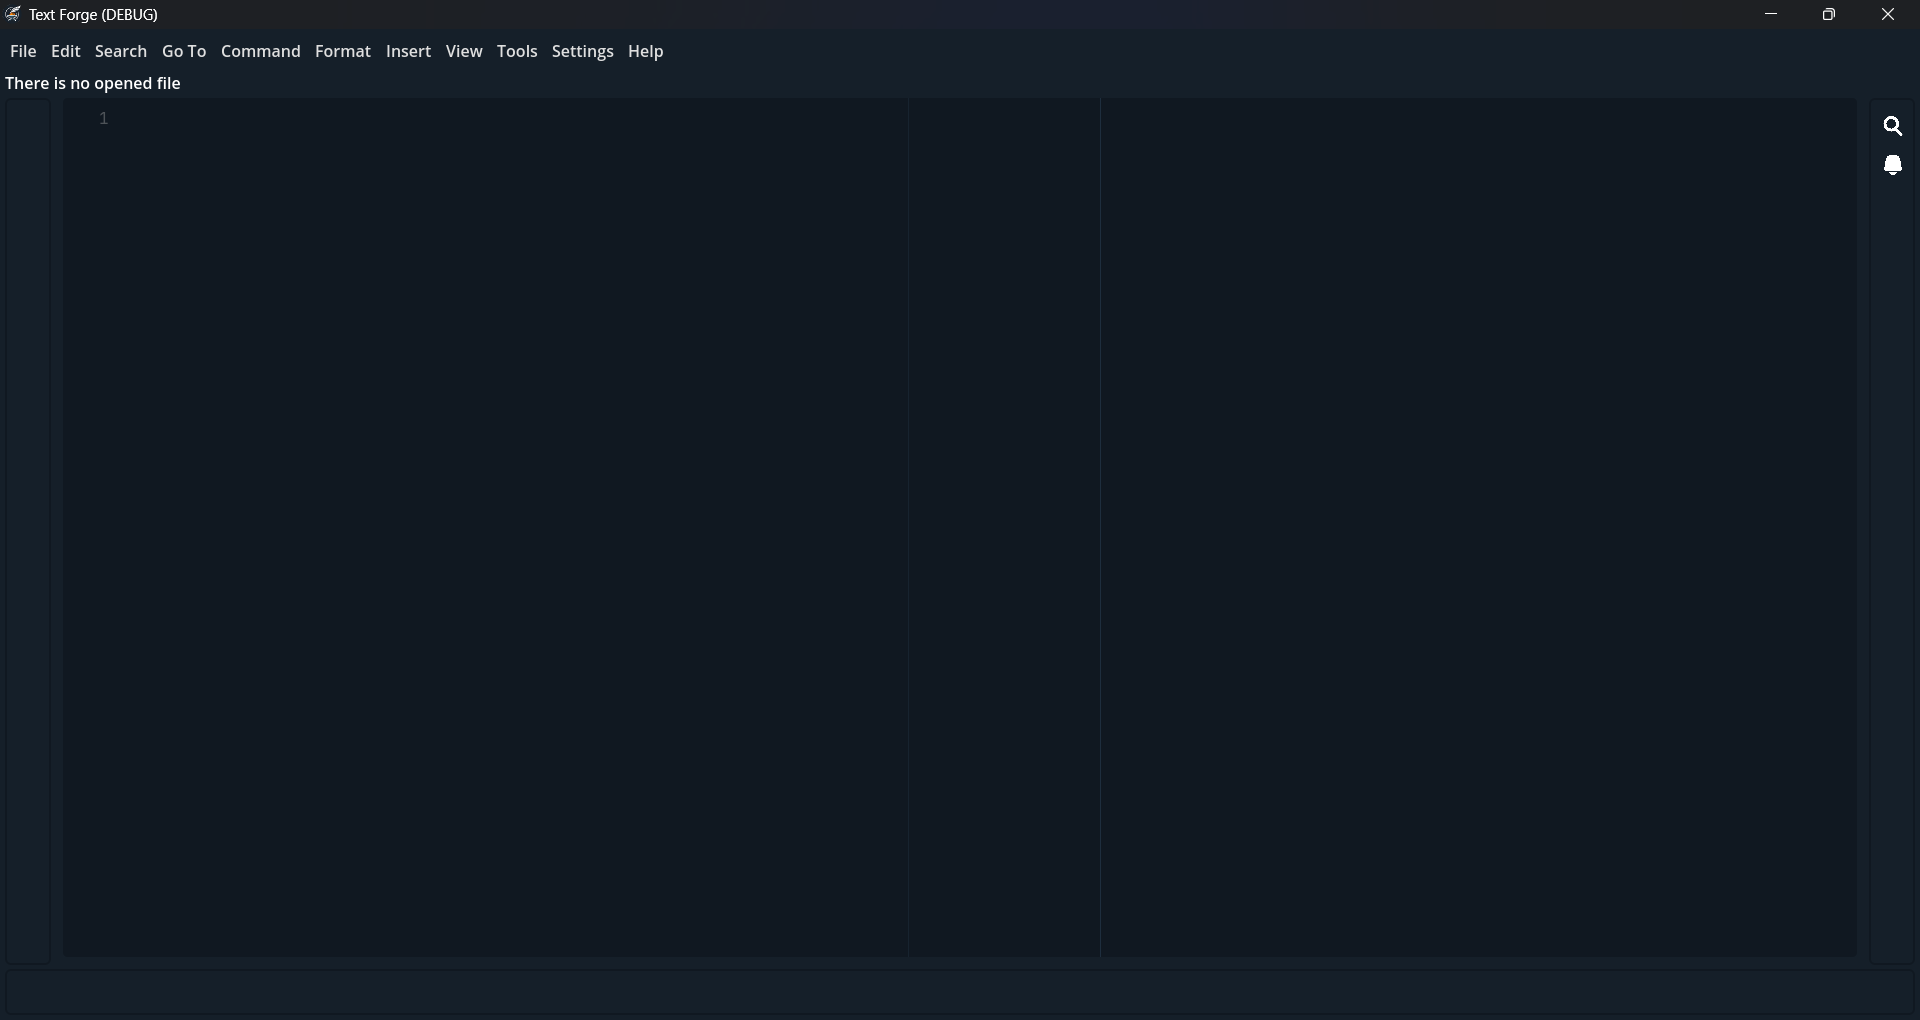
Now you can open extracted Text Forge directory and run Text Forge with Text Forge runnable file:

Install Modes
Now, you have a very lightweight editor, it's more like a core. There is a lot of plugged modules like action scripts, panels, etc. but you need another type of module too for work with you editor. This type is Mode, you can find more about modes here, but for now let's get your modes from Text Forge Marketplace!
You can use Settings > Marketplace to find themes, extensions, and modes and install them in one click. For modes, use filter option in top-right corner of marketplace window and set it from All to Modes. Now you can see available modes, click on a mode to see its details, if it's what you want click on Install button and wait until Package Installed! notification.
Tip
You can find more about mode installation here.
Open A File
You have a ready code editor! Let's open a file:
- In top left of editor you have a list of menus. Click on
Filemenu in top left. - Click on
Openand select your file in opened file dialog. - Based on your file type (extension), Text Forge will open it in one of these ways:
- You have one installed mode for this file: Here, Text Forge will use mode to load file in editor and loads syntax highlighter from mode.
- You have some installed mode for this file: A popup will show, and you can select a mode to open file, then we have first situation.
- You haven't any installed mode for this file: Text Forge will send a warning (You can see it in notification panel) and open file using UTF-8 encoding. With this behavior you can open any file type that encoded with UTF-8 without any mode (It means a lot of files!) but there is no syntax highlighter for these files.
- Well done!
Tip
You can open a file with Ctrl + O shortcut or using command palette (Command > Command Palette option in menus or Ctrl + P)
Note
On windows, use RMB on file and click on Open With, then select Text Forge runnable .exe.
After this you will be able to open files with Text Forge without open it directly.
Create New Project
Note
Unlike most editors, you don't need to create a project before creating a file, so this section is optional.
If you've used other editors, you'll notice a different project concept. In other editors:
- A project is a folder.
- Project information is stored in a subfolder of that folder (e.g.,
.textforge).
In Text Forge:
- A project is a
.tfprojfile. - Project information is stored in that file.
But why? We have specific reasons for this design:
| Feature | Folder-based projects | .tfproj projects |
|---|---|---|
| File Path Flexibility | Only files inside the folder | Any file from any path |
| Single-File Projects | Requires a folder | A single file is enough |
| Custom Project Settings | Scattered across multiple files | Centralized in .tfproj |
Overall, this design gives you more flexibility. You can keep parts of a larger project in different folders and switch between them in the editor with a single click.
Let's see Text Forge projects in action. You can create a project from Project > New Project. This opens the New Project window with these fields:
- Project File — Path to your
.tfprojfile. - Name — Project name.
- Details — Optional project details.
- Icon — Optional project icon.
- Tags — Optional comma-separated list of tags.
- Include — Folders and files to add to the project.
- Exclude — Folders and files to exclude from the project.
When you press the Create button, the editor creates the project, and you can use Project > Open Project to open it. Then, navigate between project files in the Files panel on the left side of the editor. To automatically save files when moving between project files, enable Settings > Preferences... > Files > Save Files When Moving Between Project Files.
Tip
See also: Project menu
Customize Editor Appearance
You can customize editor appearance in multiple ways:
Using Themes
To find a theme, open Settings > Marketplace and set package filter to Themes. You can click on
a theme and see its preview and them install it with Install button. When the theme is downloaded
and installed, you will see a confirmation dialog that says you can enable this theme now. Next time,
you can open Settings > Preferences and go to Editor UI > Theme to change theme. If you want to
see where themes are installed use Settings > Open Data Folder and go to themes/ folder.
UI Filter
Sometimes you need to change editor appearance just to add more brightness or less saturation, in these
situations you can use UI Filter a feature to apply customizations in a few moments. To see how
it works, open Settings > Preferences and go to Editor UI in this section you can find three
options: Filter Hue Shift, Filter Saturation, and Filter Brightness. With this feature you can
customize editor appearance to any base color, saturation and brightness and see result dynamically.